Upgrading App Volumes 2.18 to App Volumes 4

VMware recently announced a new version of App Volumes 4! App Volumes 4 comes with exciting new features and improvements over App Volumes 2.x. In this guide we will be going over how to upgrade App Volumes 2.18 to App Volumes 4.
You can find more about App Volumes 4 by visiting VMware Docs and Techzone.
Before you Begin!
- You must be on App Volumes 2.18 before continuing. If you currently have an earlier version of App Volumes installed, you will need to upgrade to App Volumes 2.18 first.
- Download App Volumes 4
- Download the App Volumes 4 License Key File.
- Backup App Volumes Database
- Backup App Volumes Manager Server (Full Backup or Snapshot)
How to Backup App Volumes SQL Database
- Launch SQL Server Management Studio.
- Connect to Server.
- Enter the database login credentials.
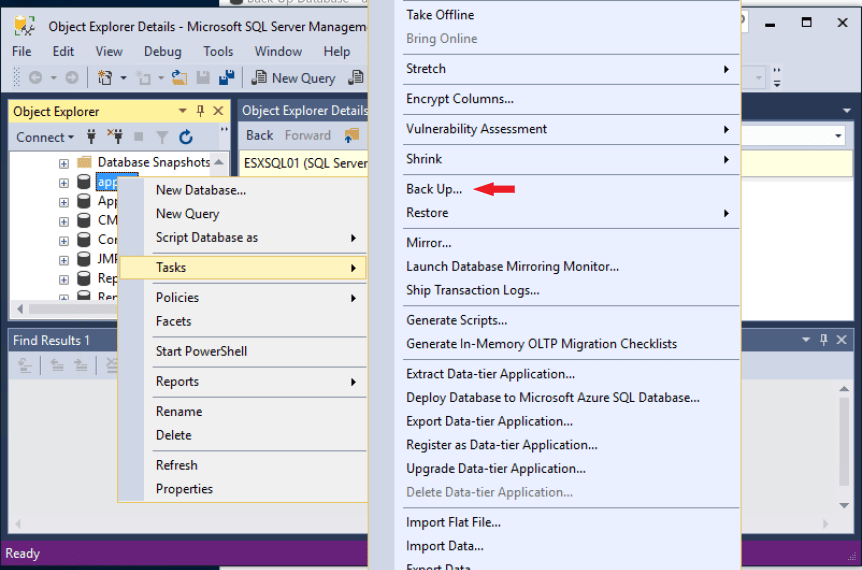
- Back up the App Volumes Manager database:
- Right-click the App Volumes Manager database and Click Tasks > Back Up.
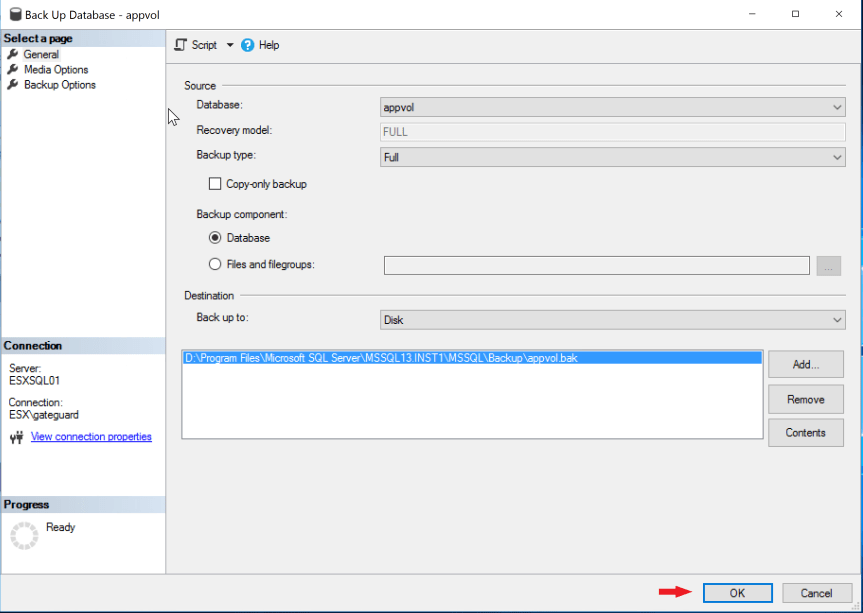
- Select your backup options and click OK.
- Copy the backup file to a safe location during maintenance or upgrades.
What if I have Multiple App Volumes Managers ?
If you have multiple App Volumes Managers, you can repeat the upgrade process across each server. I recommend doing each App Volumes Manager Server upgrades one at a time.
Upgrading to App Volumes 4
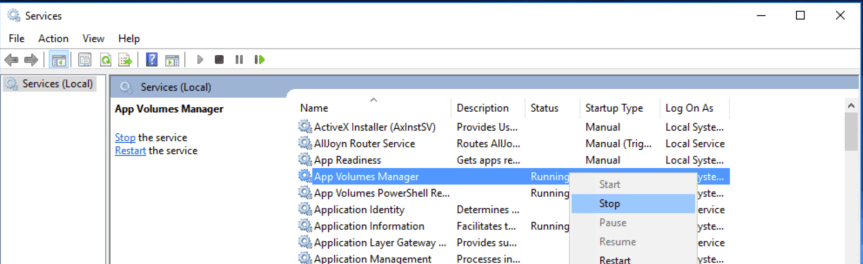
Before you begin upgrade process, you will need to stop the “App Volumes Manager” Service.
NOTE: If you have multiple App Volumes Manager Servers, you will need to STOP the “App Volumes Manager” service across all servers before beginning.
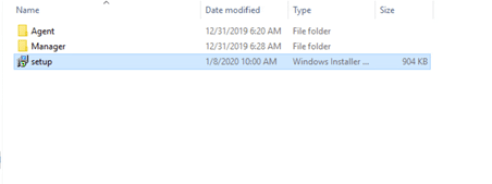
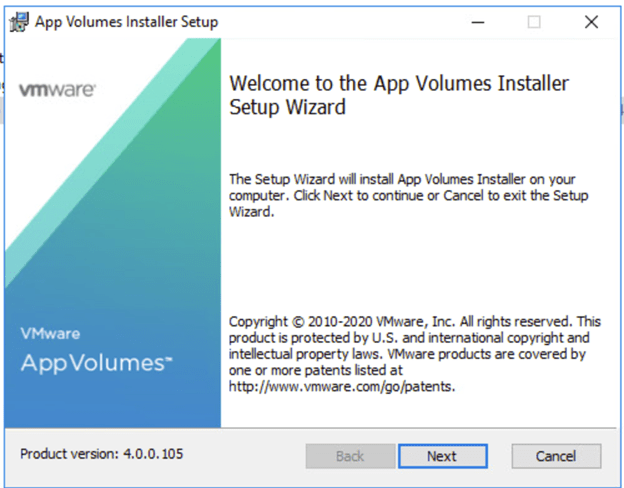
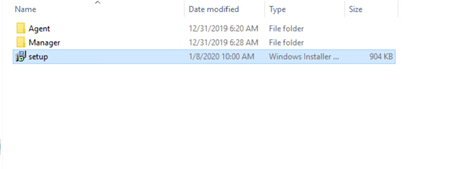
On App Volumes Manager server double click on the “setup.msi” located on the under installation folder on the App Volumes 4 ISO.
At the welcome screen press next and accept the licenses agreement.

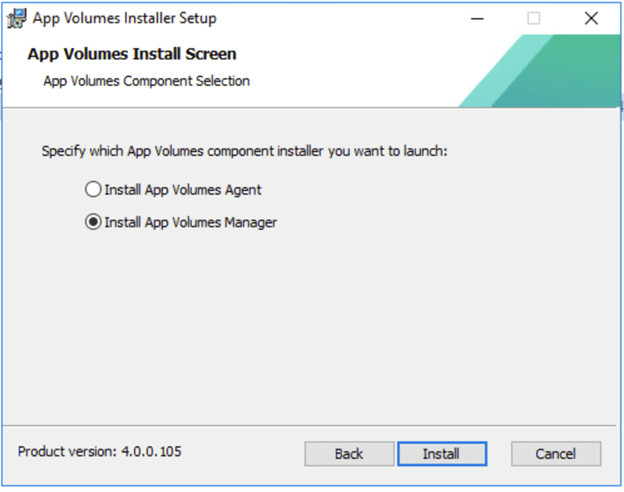
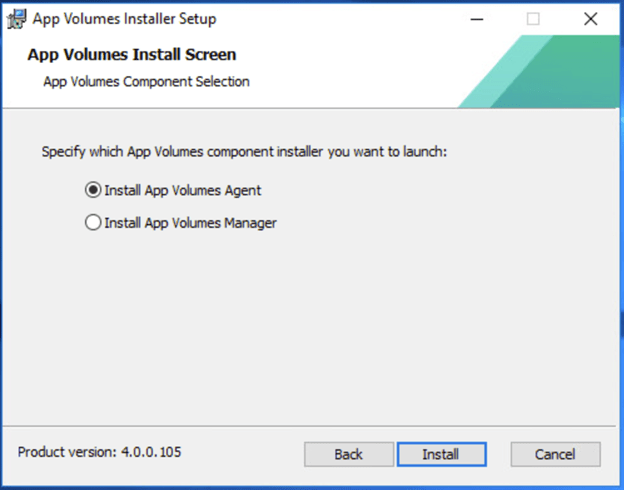
Choose Install App Volumes Manager and press install.
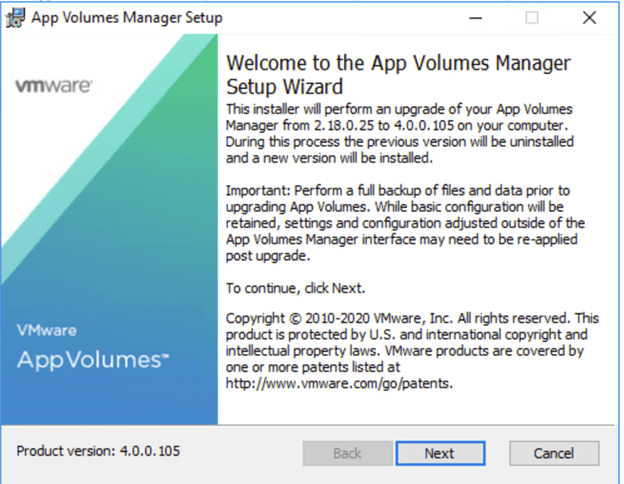
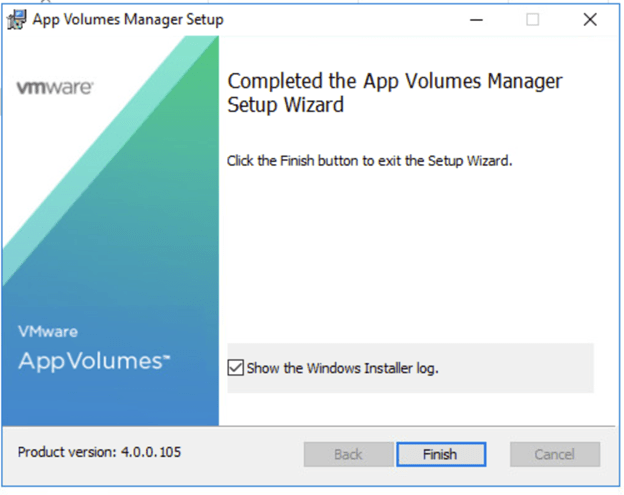
At the App Volumes Manager Setup Wizard press next and select install.
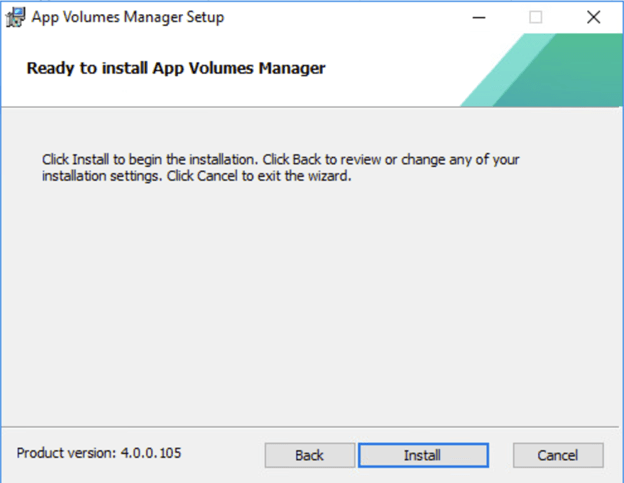
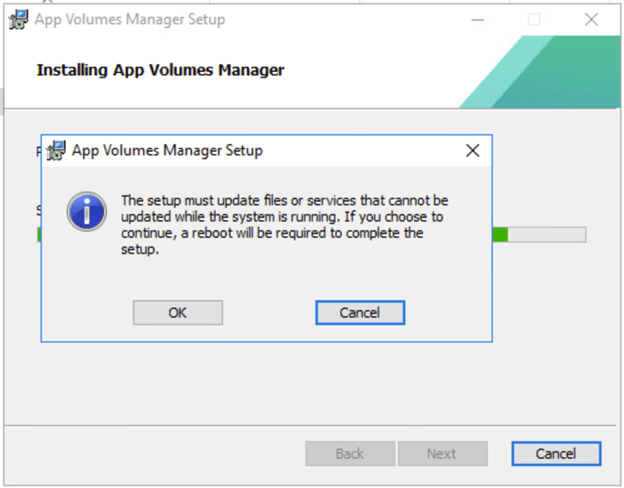
If you receive the following prompt then that means the “App Volumes Manager” service was not stopped before installation. Press “OK” to continue the installation. NOTE: Your server may reboot during the install process.
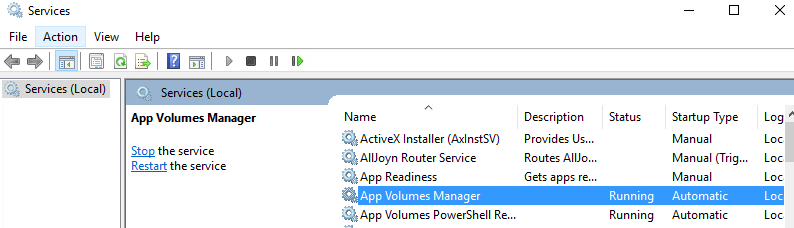
After installation has completed, verify the App Volumes Manager service is running.
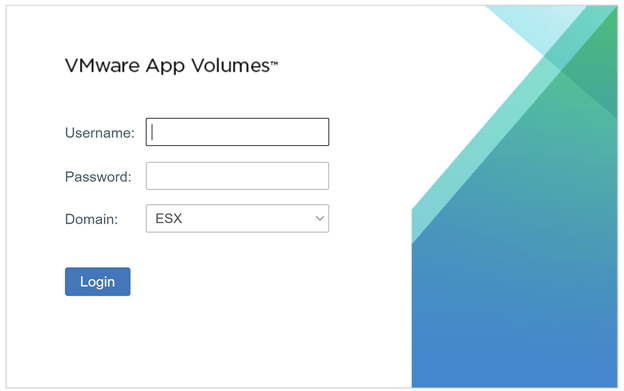
Once you verify the App Volumes Manager Service is running, open a web browser to “https://FQDN of App Volumes Manager/login” and login to verify that the App Volumes Manager has been upgraded.
Upgrade App Volumes Agent
Within the Master Image, double click on the ”setup.msi” located on the under installation folder on the App Volumes 4 ISO.
At the welcome screen press next and accept the licenses agreement.


Choose Install App Volumes Agent and press install.
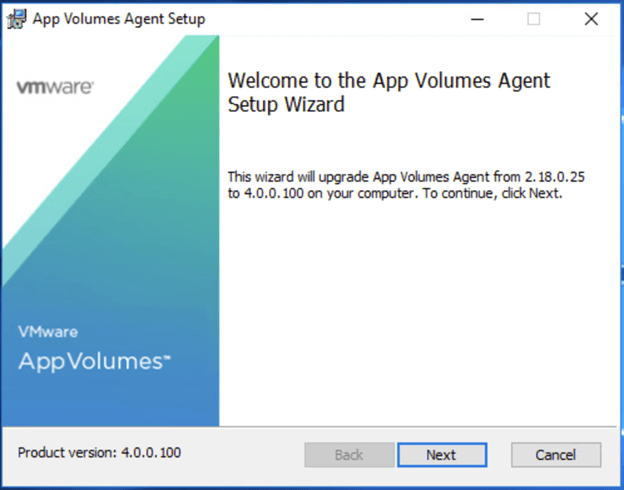
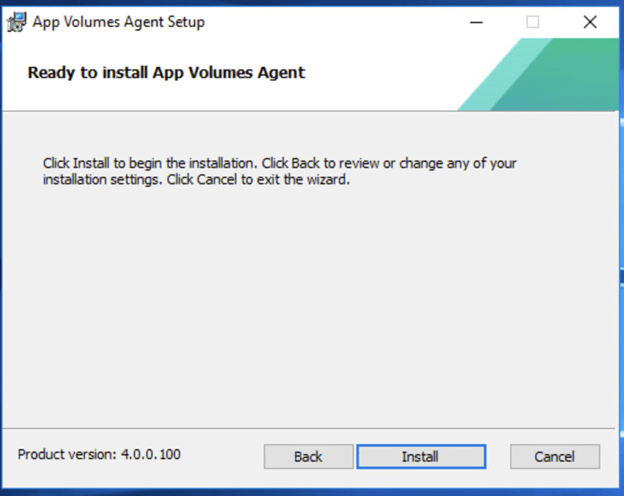
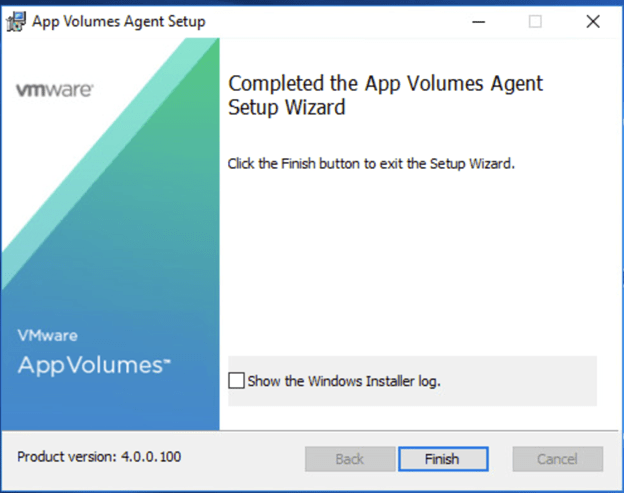
At the App Volumes Agent Setup Wizard press next and select install.
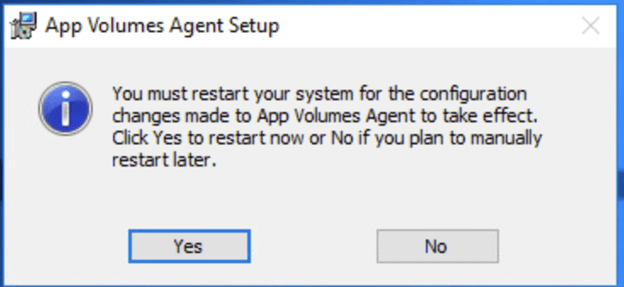
After installation has completed, you will need to reboot.
After the initial reboot, verify that “svservice” is running.
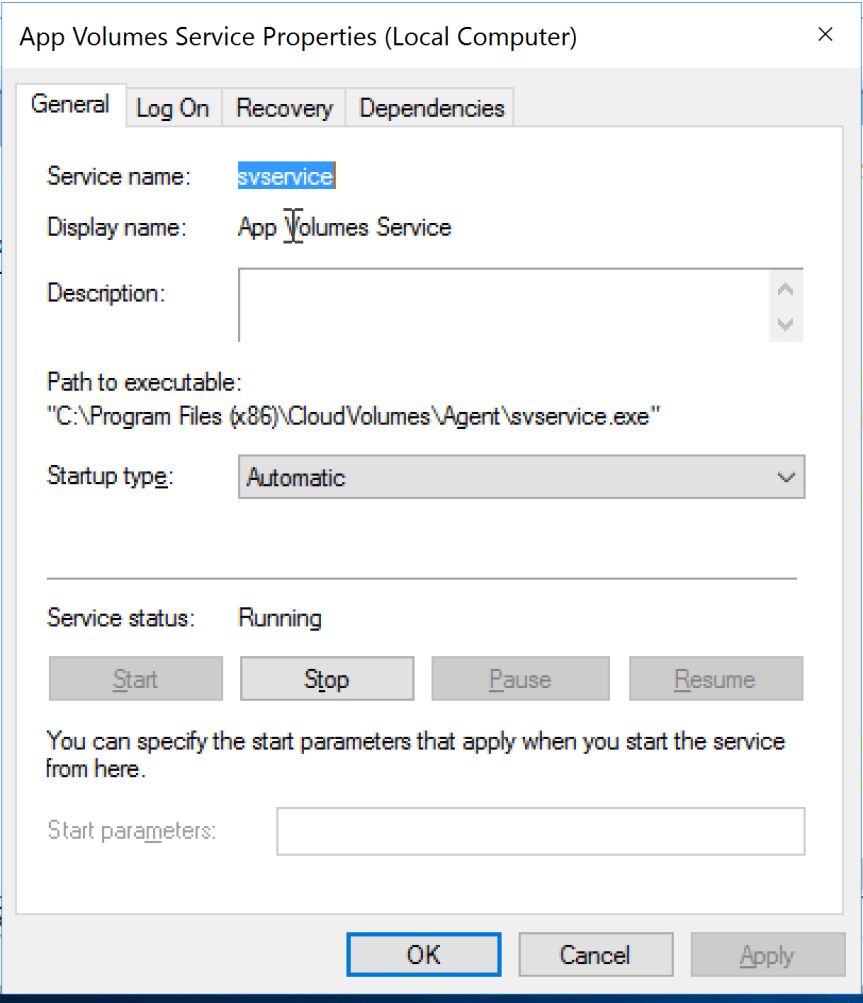
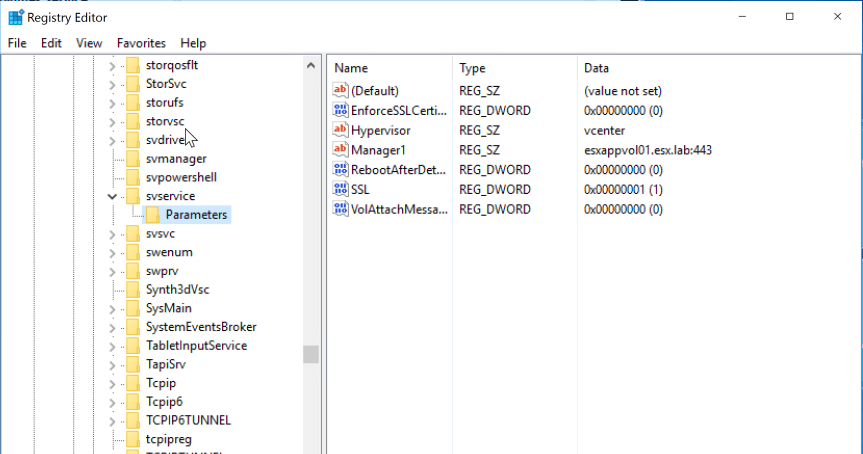
After checking the service, verify the svservice configuration is correct.
- Open Regedit
- Go to HKLM\SYSTEM\CurrentControlSet\Services\svservice\Parameters
- Verify the Manager1 sting is pointed to the correct App Volume Manager.
More information about advanced parameters for svservice can be found here.
Tip about Agent Install Order and the Master Image
In most of the environments I work in, we use App Volumes, Dynamic Environment Manger, NVIDIA GRID, etc. When it comes time to update agents for any of the components listed aboves and VMware tools , we usually re-install all the agents following the VMware KB located here. Truthfully, this is not necessary, but we found we ran into less issues/fixed when we followed the Agent install order.